Saturday, September 17, 2011

Newest Stampy Land Dare

This dare is all about making sure the inside of the greeting card has a little decoration going on, too! Here is my submission:

And the inside:
It's pretty simple inside, but it leaves the focus on the message, which I will write once I have chosen a recipient!
Supply List
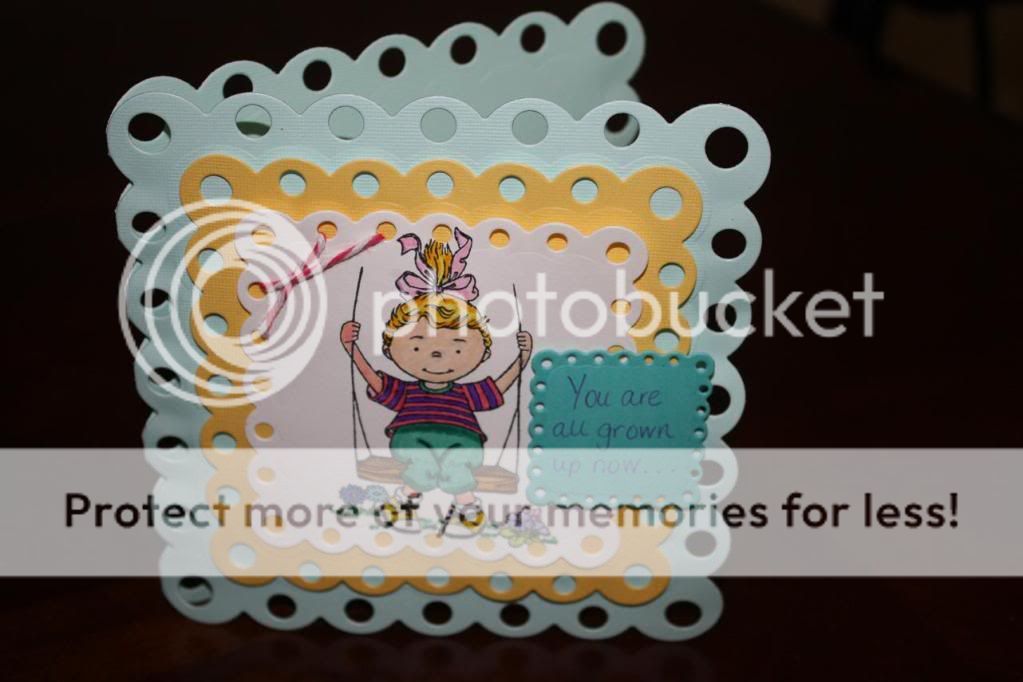
Stamps: Greeting Farm's Oh Boy Ian, Inkadinkadoo's Celebration set
Ink: Memento Tuxedo Black, Versa Coffee (top edge on inside)
Dies: Lifestyle Crafts-Nesting Rectangles, Gift/Present
Papers: Die Cuts with a View
Other: Copics, Zigs, Hermafix tabs

I really need to invest in some glitter glue to dazzle these cards up a bit more!! This post is going to be brief. It took me the entire day to complete this card because of my very sick preschooler, but I wanted to get it posted so I have some "closure"!
If you have any questions about anything I've done here, please comment!

Go make something pretty!

Friday, September 16, 2011

Wooha!

I'm really glad I ended up doing my card over again! Because I re-entered, it changed where my card was numerically and the random number generator picked me as the winner! I'm so excited about free nesting scalloped circles from Lifestyle Crafts! I know it was random, but it still gives me confidence to keep going, keep creating, and to keep learning new things. Look at my other awesome prize, a Golden Essie!!

Hopefully you can join me for the next challenge, where the winner receives an entire alphabet to use on their favorite die cut machine!  Click right here to see the Dare and get to work! This technique is not difficult to pull off and many people already do it! It can be any theme you want! You know you want a Golden Essie of your own!!

I've got some scrappin' to do, so until next time,

Go make something pretty!

Monday, September 12, 2011

Stampy Land Submission, Take Two!

I got some new stamps and, finally, some COPICS in the mail on Saturday. I decided to make a new card for the current Stampy Land challenge.

Supplies are as follows:
Paper-Die Cuts with a View, Two Busy Moms
Stamps-C.C. Designs Spring Trevor and Park Bench
Markers-Copic Sketch
Dies-Lifestyle Crafts Nesting Eyelet Squares, Large Bottlecap
Twine-My Mind's Eye

Here's a closer look at the stamped image:


This was my very first stamped image where I used the masking technique, as well as my first attempt at using Copic markers. I have a lot of practicing to do, but I'm proud of my first try at both!
Go make something pretty!

Tuesday, September 6, 2011

A little Spring

Today's card is another pretty simple one. I'm trying to practice coloring because I'm getting into stamping a little bit. I don't own any Copics yet but my Zigs are doing the job decently for now!

I used glitter on the wheelbarrow and three colors of Flower Soft, with some trickling over the side. I also used Mrs. Grossman's Swarovski crystals for the ponytail holders in her hair. Threaded some ribbon, stuck on some buttons, there ya have it! I am leaving off the sentiment for now until I have a purpose for the card. It's a cute stamp; I'm looking forward to using it again soon!


Go make something pretty!

Friday, September 2, 2011

Stampy Land submission

Here is my Boys card for the latest Stampy Land dare. I don't have any stamps of actual boys so I found some stamps of frogs, which I felt captured the theme. The card reads "You are toadally great". I used the Lifestyle Crafts nesting eyelet squares, Yogurt and Chicken Noodle alphabets. The frog stamps are some that I got at least ten years ago from Michaels all in one kit but I have no idea what brand they are. I colored them with Zig markers and embellished with some baker's twine. Thanks for checking it out!

Today's Project with Lifestyle Crafts

This morning, I used Lifestyle Crafts nesting eyelet squares dies to make a simple but cute card!
I used the largest size square to make the actual card base. This was achieved by leaving the very edge of the die off the edge of the folded paper, so that it wouldn't cut and it left a folded edge. I also cut around my stamped image and matted it with two additional sizes of the squares, followed by a sentiment on the smallest. The inside of the card reads "It's time to start acting like a kid!". I used some pop-dots here and there for dimension as well as some baker's twine for added color. This offers a lot of customization and is great for any occasion!
Here is another view that shows the card base a bit better:

Thursday, September 1, 2011

Glue, Paper, Scissors

Hi! Welcome to my blog :)  This blog will be all about my scrapbooking/cardmaking/papercrafting projects. I will definitely share pictures with you of things I make, and hopefully I will get into some tutorials as well. My absolute favorite thing are the Lifestyle Crafts dies, so you will certainly hear a lot about those!
I love to express my quirkiness through paper crafts and I will be sharing some projects very soon!

Go make something pretty!